
By Michael Harper
Using iBeacon Technology to Display a Pass in iOS
PassKit was introduced in iOS 6 and brought us coupons, boarding passes, store cards, and event tickets directly on our iPhones. I remember adding an Alaska Air boarding pass to Passbook several years ago (now known as “Wallet” in iOS 9) and being pleasantly surprised to see it magically available on my phone’s lock screen when I was at the airport.
How’d they do that?
I’m guessing they used a geofence in the pass to cause it to be front-and-center when I was at the airport where I’d board the plane. It turns out you can do the same thing when a pass is installed on a device that is in proximity to a specific beacon!
Different types of passes can be added to Wallet: airplane boarding passes, store cards, discount coupons, and payment methods for Apple Pay, just to name a few. In this tutorial, we are going to build a membership card pass for a fictional fitness club named “RadBeacon Athletic Club”. The idea is that the pass should pop onto the iOS lock screen when in the vicinity of a beacon at the facility’s front desk in order to be scanned.
Configuration
The RadBeacon Athletic Club (RBAC) has a front desk where members check in as they enter the fitness area. We would like for the member‘s pass to be available from his phone‘s lock screen when he arrives at the front desk. This will make it very easy for the member to have his pass scanned without even breaking stride.
We are going to configure a beacon at the front desk with the following values:
Beacon Identifier Value
UUID 2F234454-CF6D-4A0F-ADF2-F4911BA9FFA6
Major 2
Minor 150
For the purpose of creating a pass, I will pose as member #24601.
The Pass Type ID for this pass is pass.com.radiusnetworks.rbac
Creating a Pass
A pass “package” is comprised of a directory containing a pass.json file and a few image files:
-
icon.png— displayed in the pass notification on the lock screen -
logo.png— appears in the upper-left-hand corner of the pass
There are additional images that may be specified for a pass, but we‘re keeping it simple.
The pass.json file is where the magic happens. It is simply a dictionary of keys and values that define the pass. There are a bunch of different keys available, including pass identifiers, description, styling, and “relevance” which specifies where the pass is likely to be used. The beacons key is the one we’re interested in.
I started with the “generic” pass sample provided by Apple and stripped it down to the bare minimum and then added the beacons entry.
"beacons" : [
  {
    "major" : 2,
    "minor" : 150,
    "proximityUUID" : "2F234454-CF6D-4A0F-ADF2-F4911BA9FFA6",
    "relevantText" : "RadBeacon Athletic Club Front Desk"
  }
]
This is the complete pass.json file (with the teamIdentifier elided):
{
  "description" : "RadBeacon Athletic Club Membership Card",
  "formatVersion" : 1,
  "organizationName" : "RadBeacon Athletic Club",
  "passTypeIdentifier" : "pass.com.radiusnetworks.rbac",
  "serialNumber" : "2460124601",
  "teamIdentifier" : "your_team_identifier_here",
  "beacons" : [
    {
      "major" : 2,
      "minor" : 150,
      "proximityUUID" : "2F234454-CF6D-4A0F-ADF2-F4911BA9FFA6",
      "relevantText" : "RadBeacon Athletic Club Front Desk"
    }
  ],
  "barcode" : {
    "message" : "24601",
    "format" : "PKBarcodeFormatPDF417",
    "messageEncoding" : "iso-8859-1"
  },
  "foregroundColor" : "rgb(255, 255, 255)",
  "backgroundColor" : "rgb(0, 0, 0)",
  "generic" : {
    "primaryFields" : [
      {
        "key" : "member",
        "value" : "Brian Johnson"
      }
    ],
    "secondaryFields" : [
      {
        "key" : "subtitle",
        "label" : "MEMBER SINCE",
        "value" : "2007"
      }
    ],
    "auxiliaryFields" : [
      {
        "key" : "favorite",
        "label" : "FAVORITE EQUIPMENT",
        "value" : "TRX Suspension Trainer",
        "textAlignment" : "PKTextAlignmentRight"
      }
    ]
  }
}
Once you‘ve assembled the contents of your pass, you need to sign the pass directory with a certificate obtained from the Apple Developer Member Center. This generates a .pkpasspackage which is the actual pass that needs to be distributed. I used the Apple-provided signpass executable (see Passbook Support Materials) in conjunction with my certificate to generate the signed pass package. These steps are all covered in detail at the Apple Developer site.
The completed pass directory can be found here.
Installing the Pass
After signing the pass, I previewed the pass on OS X.
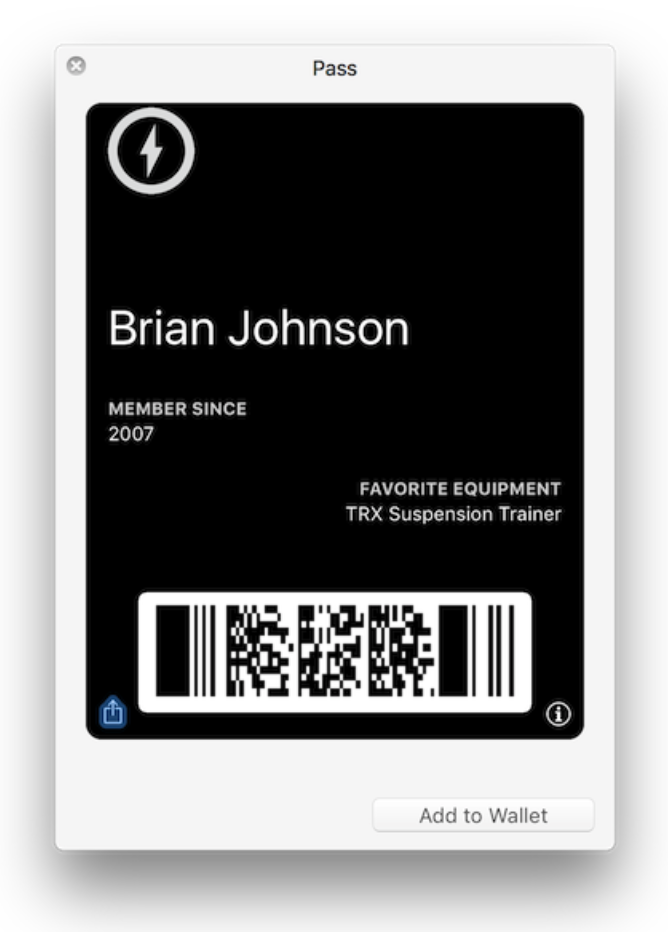
Because iCloud is configured on my Mac and on my iPhone, I am able to add the pass to my wallet directly from my Mac by double-clicking the pass and clicking Add to Wallet. You can send the pass to your phone any way you like — email, Message, AirDrop, web site — as long as you can tap on the attached pass to install it into Wallet.
Testing
Note that Location Services need to be enabled for the Wallet app on iOS in order for the pass to become available in the vicinity of a beacon.
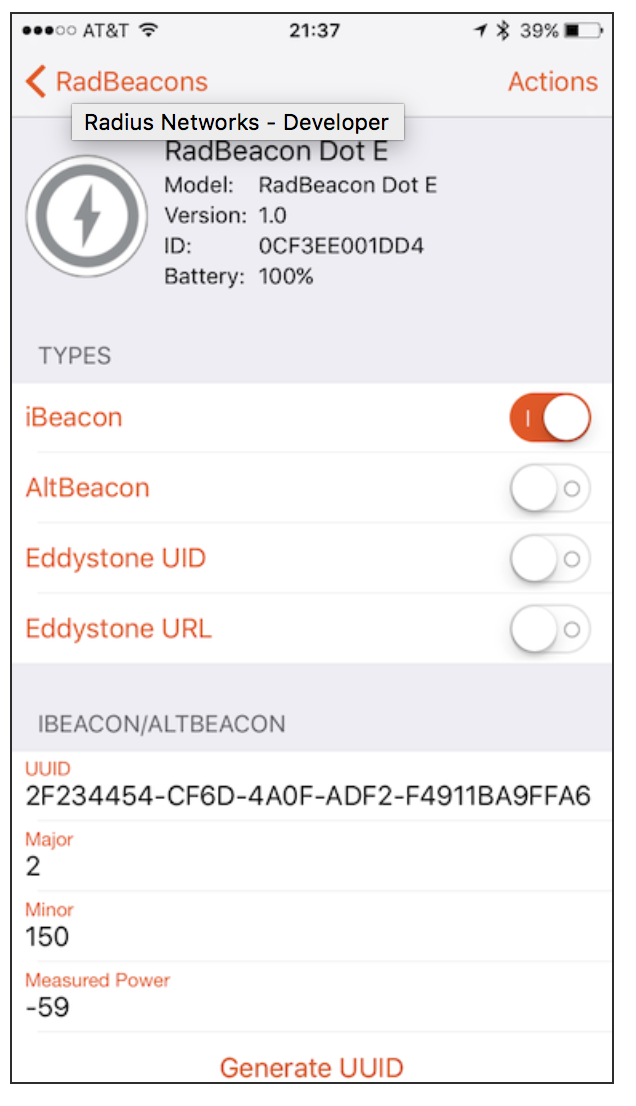
I used RadBeacon to configure a RadBeacon Dot with the UUID, major, and minor specified for the front desk.
Once the pass is installed and the beacon is enabled, whenever my phone is in the vicinity of the front desk beacon, the pass becomes available on my lock screen.
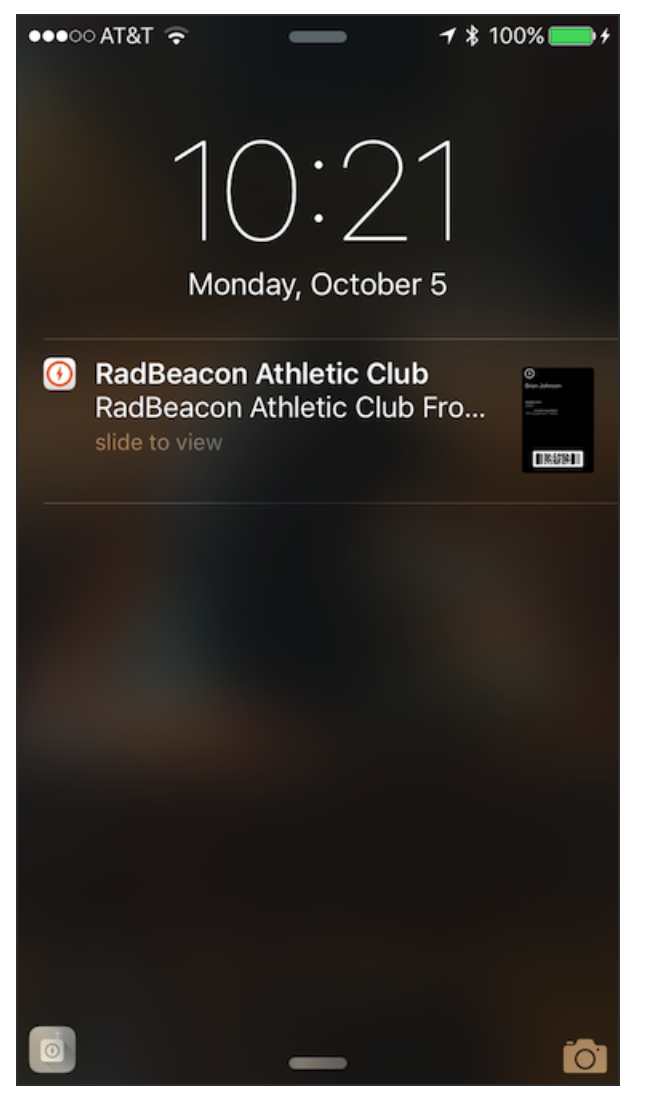
Now I can swipe on the pass notification and see the pass.
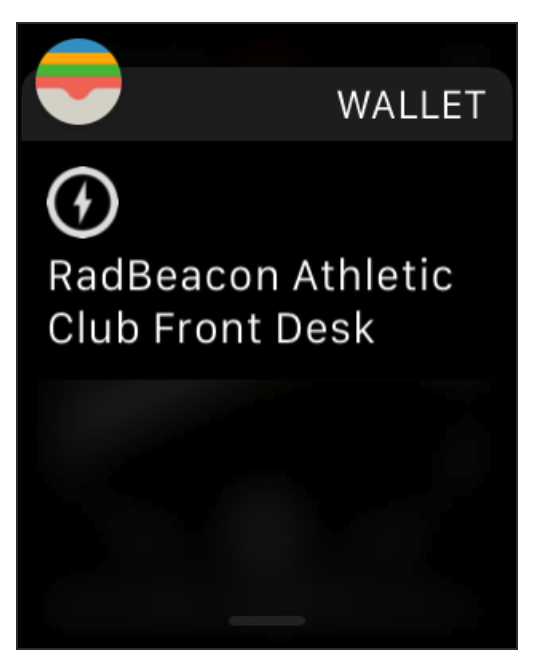
The pass notification also appears on my Apple Watch.
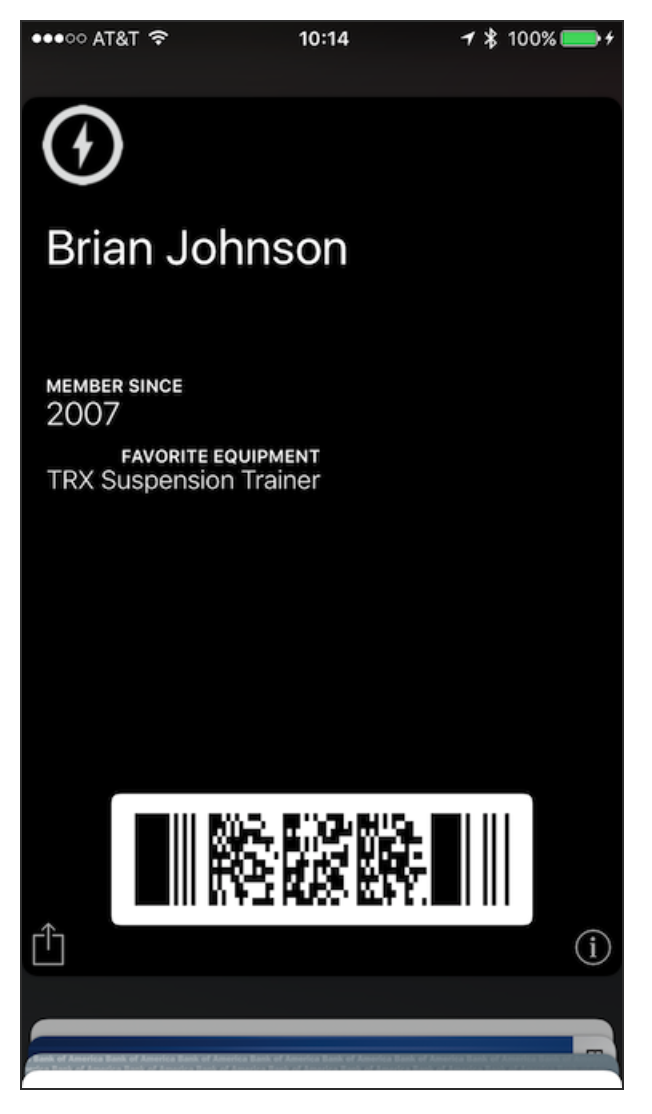
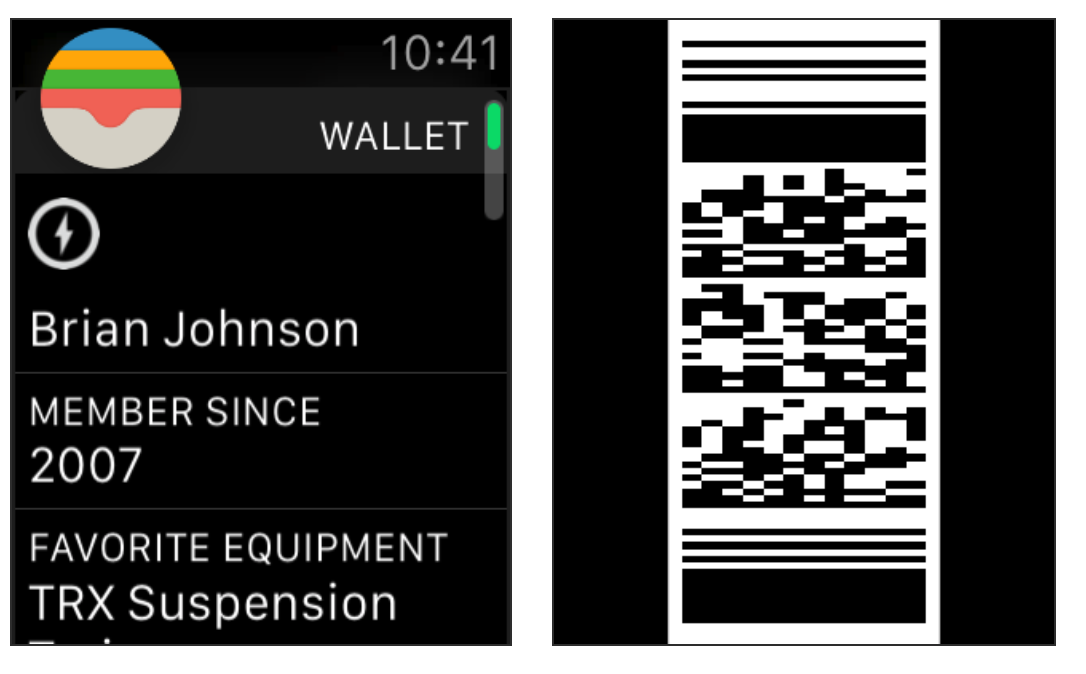
Tapping through on the notification displays the pass details and QR code.
Time to go setup the TRX and feel the burn!
References
Integrating with Wallet in iOS 9
PassKit Package Format Reference
Apple technical note 2032: Passbook FAQ
Passbook Support Materials including signpass tool
Example Passes and Sample Code Broken on the Apple site as of this article‘s publishing date
